The Moon Motion toolkit provides Unity developers everything they need to literally hit the ground running. Drop a ready-to-use VR Player into your scene, equipped with any of the Moon Motion locomotions. Take advantage of key player features such as object interactivity, camera smoothing, and dynamic player colliders.
Setup Unity. Start from a copy of the template project (the repo). Test out the toolkit's example scenes. Once you're ready to setup your Player, first copy the Moon Motion Player prefab so you have your own to customize. Place it in the provided empty starting scene and lay out the beginnings of your scene. Set the terrain to a terrain layer. Learn more when you're ready to make further use of the Moon Motion player.
If you have developed in Unity or other engines before, you're probably familiar with the concept of a "Character Controller" as a way to create a player. Most games require a player to represent the person playing the game. For virtual reality, this is no exception – perhaps more so. Motion tracking practically necessitates the concept of a player in order to best immerse the human into the experience. As you will see, there are several resources available for creating a VR player. We can think of Moon Motion as one such way to achieve a VR player: in its case, it focuses especially on the locomotive aspects, on allowing the player to move. Its goal is to let the player experience freedom of motion, even though they are confined to a room-scale environment in real life.
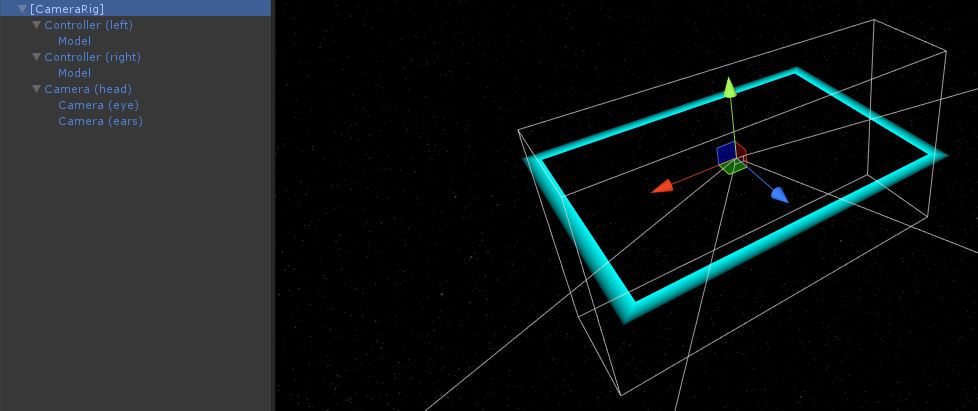
When developing for virtual reality using Unity, the best place to start is to use Valve's Unity SteamVR Plugin. The plugin is compatible with all major virtual reality headsets, such as Valve's own Vive. It is available for free on the Unity Asset Store and is open source on GitHub. Valve's plugin provides the core functionality you need to get the virtual reality camera and motion tracking working in the engine, centered around a player object called the [CameraRig]. It pretty much works out of the box once you drag the object into the scene and press play, assuming you have a VR headset connected.
If you are only interested in trying VR development for the immersion factor provided by the VR camera or motion tracking (and aren't interested in player movement mechanics), you probably just want to use Valve's plugin to keep your project lightweight.
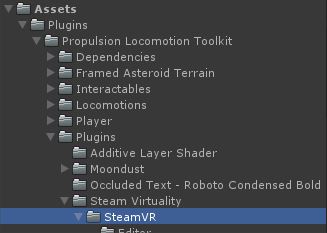
On the other hand, Moon Motion contains a modified version of the Unity SteamVR Plugin, as a subplugin:
If you are interested in having access to Moon Motion's locomotions and other features down the line, you'll want to start with Moon Motion, instead. That way you don't have to transition your project to a Moon Motion setup later, where you'll have to recreate your player prefab and project settings (such as physics layers).
Valve's Unity plugin, interestingly enough, has a subplugin of its own: the Interaction System. This is the set of prefabs and scripts used in The Lab. This is responsible for additional starting functionalities key to most VR experiences seen so far: the ability to pickup and throw objects, to use the basic teleportation locomotion, and to wield a bow and arrow. As the second evolution of the VR player discussed so far, the Interaction System offers a superior alternative to the [CameraRig] called simply the Player:
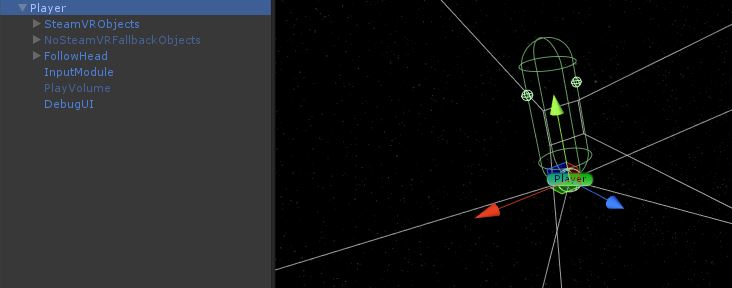
The takeaway here is that Moon Motion includes all of this additional functionality, as well! Moon Motion's own iteration of the VR player is based on the Interaction System version, and is also called the Player. Here you can see the Moon Motion player body in action:
Check the latest verified Unity version here. Ensure you have that version or similar installed via the Unity Hub.
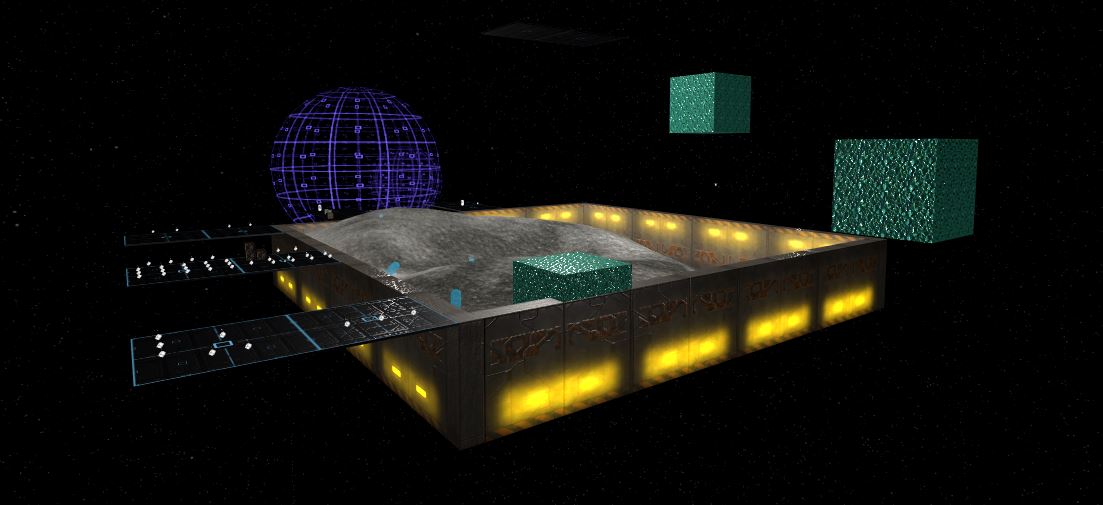
The Moon Motion repository contains a template project to help you get started. This includes a couple of example scenes which can be used to become familiar with the toolkit's features. Here's a peek at the Testing Grounds scene, which was used while creating the toolkit:
The example scenes already contain Moon Motion's Player prefab. You can open them up and play around to get a feel for the features of the toolkit. Once you're ready to setup your own scene, you can edit the starting scene given in the project:

It is recommended to create your own version of the Moon Motion Player prefab before making changes to it. That way, you can maintain the original version. You can simply drag the Moon Motion one into your scene and then drag it back into your assets folder to create a new copy of the prefab. Once you have a Player in the scene, it should already work with the default locomotions enabled. If you're using your own terrain objects, set them to one of the terrain layers.
Yes, preferably you should start from a clone, copy, or fork of the Moon Motion template project, although that is not mandatory; you can add the toolkit to a project you've already started if necessary.
While the toolkit is mostly contained inside a folder inside the project's Assets/Plugins directory, the project does require the proper physics layers setup to function as intended. It also has other VR-friendly project settings configured. These must be set at the project level, so they are not carried by the plugin's folder. Therefore it is easier to start from within the Moon Motion template project.
However, if you already have a project in progress and want to add the toolkit to it, you may need to update your project settings to match those of the template project. It's generally easier to put your work in progress into the template project and go from there, instead of importing the toolkit's folder into the project you already have, but that's your call.
Be sure to join the Discord as well if you have any questions or want to collaborate with others.
Also, make a point to read up on the licensing. The toolkit is free to use with proper acknowledgement, but it's important that you understand the details.
Moon Motion is open source. If you want to contribute, you are encouraged to fork the repo!
Cheers! Now get moving!
We've got dreams to realize.